Turning Old Jeans into a Stylish Tote Bag
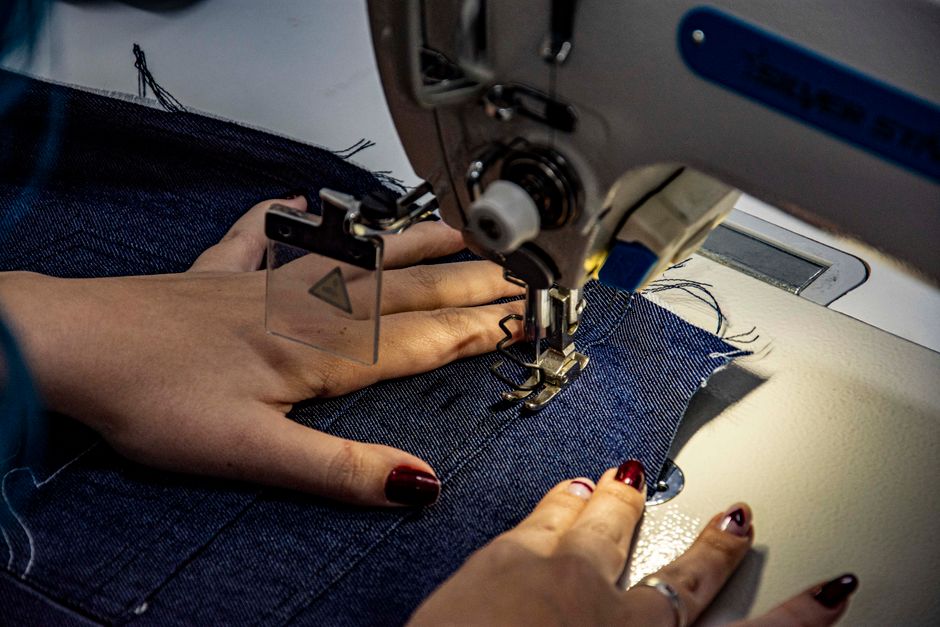
Transforming worn-out denim into a functional tote bag is a practical approach to sustainable fashion. Old jeans often have sturdy seams and durable fabric that can be repurposed into a bag with multiple pockets. This guide, developed by Stitch Craft, outlines a step-by-step process for selecting, cutting, and sewing denim pieces to create a tote that can handle everyday use. The project requires basic sewing skills and standard equipment, making it accessible for those who want to extend the life of their clothing.
The process begins with a careful evaluation of the jeans. Areas such as the legs and back pocket sections offer the most usable material. By focusing on these parts, it is possible to create a bag that retains the original character of the denim while gaining new functionality. The resulting tote can be customized in size and pocket arrangement depending on the available fabric and personal preference. The following sections explain each stage in detail, from preparation to final stitching.
Understanding the structure of the original garment helps in planning the cuts. The waistband, seams, and hem provide reinforcement that can be used as part of the bag’s construction. By preserving these elements, the tote gains strength without requiring additional interfacing. This method reduces waste and simplifies the sewing process, as many parts are already finished.
Preparing the Jeans for Upcycling
Start by selecting a pair of jeans that are clean and free of major damage. Check the fabric around the knees, thighs, and seat area for thin spots or holes. If the denim is still intact, the entire leg can be used. If there are worn areas, focus on the lower legs and the back pockets. Lay the jeans flat on a cutting mat and remove the belt loops and tags if desired. These parts can be saved for decorative details later, but they are not necessary for the basic tote.
Use a seam ripper to open the inner leg seams from the crotch down to the hem. This creates two flat panels of denim. Cutting along the existing seams rather than through them preserves the stitching, which can be used as decorative topstitching on the bag. Once the legs are separated, trim off the hem at the bottom of each leg. The hem can be used as a finished edge for the top of the tote if needed, but it is often easier to cut new straight edges.
Next, remove the back pockets by cutting around them, leaving a small allowance of fabric. These pockets can be attached to the bag later as exterior storage. The waistband is also valuable—it can be cut into strips for handles or used as a structural reinforcement. Set aside all usable pieces and discard any heavily worn sections. Sort the fabric by thickness; lighter-weight denim from the leg area works well for the body of the tote, while the thicker seams and waistband add strength to handles.
Cutting the Tote Pieces
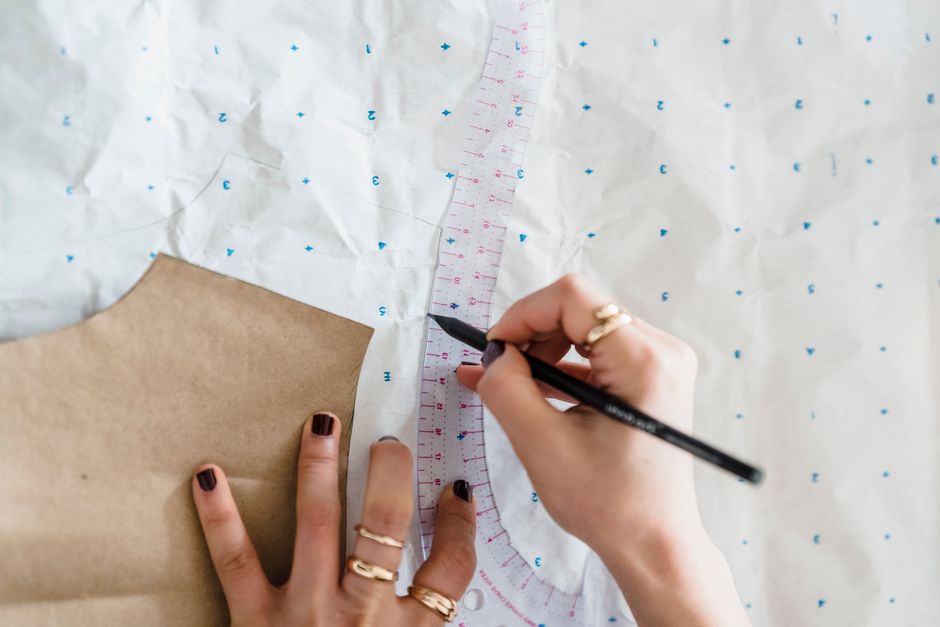
Measure and mark the desired dimensions for the tote body. A common size is 14 inches wide by 16 inches tall, but the exact measurements depend on the available fabric and personal use. Use a ruler and fabric chalk to draw two rectangles for the front and back panels. If the jeans are large enough, cut both rectangles from the same leg to ensure consistent color and fade. Otherwise, mix panels from different legs—the contrast can add visual interest.
For the handles, cut two strips from the waistband or from leftover denim. Each strip should be about 4 inches wide and 22 inches long, though these can be adjusted for a shorter or longer handle. If using the waistband, trim off the button and any hardware. The waistband already has a finished edge and multiple layers of stitching, which provides durability without extra reinforcement. For a softer handle, a single layer of denim folded in half lengthwise can be used.
If additional pockets are desired, cut the removed back pockets to size. They can be left as is or trimmed to a rectangular shape. It is also possible to cut new pocket shapes from the leg material, using the original hem as a top edge. Keep in mind that the existing pockets already have a finished opening, which simplifies the sewing process. Arrange all pieces on a flat surface to confirm the layout before stitching.
Assembling the Pockets
Begin by attaching the back pockets to the exterior panels. Position each pocket where it will be most useful—centered on the front panel or placed slightly off-center for a casual look. Pin the pocket in place, making sure the top edge is aligned with the final bag height. Use a sewing machine with a denim needle and heavy-duty thread for all seams. Stitch along the sides and bottom of the pocket, leaving the top open. Backstitch at the beginning and end to secure the threads.
If adding new pockets from leg fabric, fold the top edge over by half an inch and press with an iron. Stitch this hem before attaching the pocket to the bag panel. Then position the pocket and sew around the sides and bottom. For a more structured look, add a vertical stitch line down the center of the pocket to create two compartments. This technique works well for holding smaller items like phones or keys.
Once the pockets are attached, reinforce the corners with an extra stitch or a small bar tack. This prevents the seams from pulling under weight. The pockets can be placed on both the front and back panels, depending on the number of pockets available. Keep in mind that adding many pockets increases the sewing time but also enhances the bag’s functionality.
Constructing the Tote
Place the front and back panels right sides together, aligning the edges. Pin along the sides and bottom, leaving the top open. Sew a half-inch seam allowance down each side and across the bottom. Use a straight stitch, and consider sewing a second parallel seam for extra durability. The original hem of the leg can be used as the top edge of the bag, but if the hem is uneven, trim it straight before sewing.
To create a flat bottom, fold the bottom corners of the bag into triangles. Measure a seam line 2 inches from the point of each corner, perpendicular to the side seam. Stitch across this line, then trim the excess fabric. This process gives the tote a rectangular base that allows it to stand upright. Press the seams open or to one side for a cleaner finish.
Turn the bag right side out and check the shape. If the seams are bulky, trim them slightly and use a zigzag stitch or overcast stitch to prevent fraying. A topstitch along the sides and bottom adds a polished look and helps the bag maintain its shape. For the handles, fold each strip in half lengthwise with right sides together and stitch along the long edge. Turn the tube right side out using a safety pin or loop turner. Press the handle flat so the seam sits along one edge.
Finishing and Attaching the Handles
Position the handles on the inside of the bag, placing each end about 4 inches from the side seam and 2 inches below the top edge. Pin them securely, making sure the handles are not twisted. The raw ends of the handles should be aligned with the top edge of the bag. Stitch the ends in place using a box stitch or an X pattern for strength. If the bag has a hemmed top edge, sew through both layers of the hem and the handle ends.
To finish the top edge, fold the raw edge of the bag inward by half an inch and press. Fold again by one inch and press. Stitch close to the inner fold, all the way around the opening. This creates a clean hem that encases the raw edges of the handles. If the original hem from the jeans is used, it may be sufficient to simply topstitch over it. For a more secure finish, add a second row of stitching a quarter inch from the edge.
After the handles are attached, inspect all seams for loose threads or missed stitches. Clip any excess thread and test the bag by placing a moderate load inside. The denim construction can support significant weight, but the stitching should be checked periodically. This project can be completed in a few hours and yields a unique accessory that reduces textile waste.